

How to Use Printable Magnetic Stickers Create Long-Lasting Photo Magnets?
By hqt
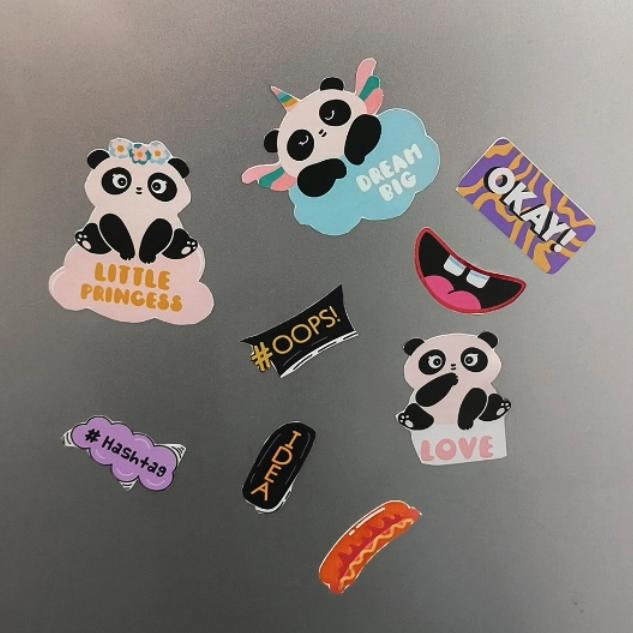
Printable Magnetic Stickers make it surprisingly simple to turn everyday photos into long-lasting fridge art. You do not need a studio, special cutting tools, or a big budget. If you already have an inkjet printer at home or in the office, you are almost ready to start making your own custom photo magnets.
Why Printable Magnetic Stickers Beat Regular Photo Prints
Think about how people used to decorate their fridge doors. Most of us printed photos on normal paper, taped them up, and hoped for the best. Within a few weeks, the once-flat print would warp, the tape would turn a dull yellow, and the colors would lose their brightness, leaving your fridge looking messy. In the end, many photos simply got tossed. Buying custom magnets from a photo service helps, but you pay more, have fewer creative options, and must wait for delivery. Printable Magnetic Stickers bridge the gap, delivering professional-quality magnets while keeping you in charge of the creative process and production speed.
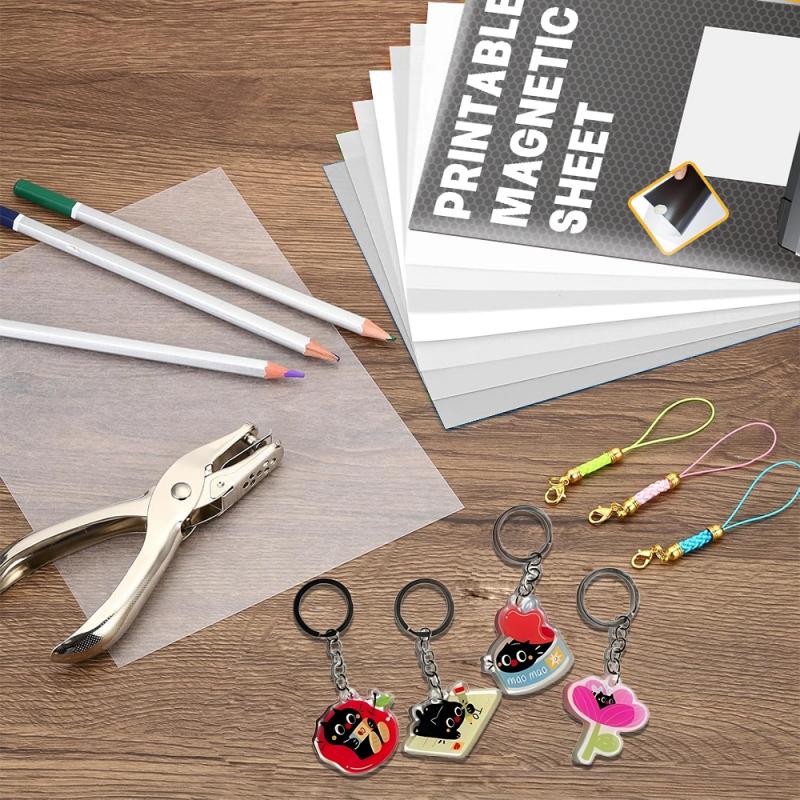
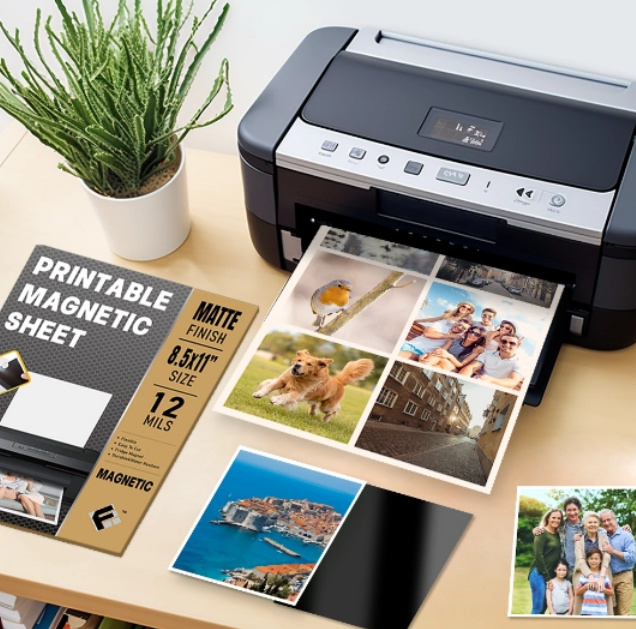
These magnetic sheets usually come in standard 8.5″ x 11″ size, so they slide into most inkjet printers as easily as normal paper. Here’s what you can do with just one sheet:
✅ Print a full-page image, planner, or calendar
✅ Fill the page with several smaller magnets in different sizes
✅ Cut each piece easily using scissors or a cutting machine
Because the magnetic backing and print surface are built into one sheet, there’s no extra laminating or sticking involved. It’s a clean, all-in-one solution.
When it comes to the look, you have choices:
Glossy Printable Magnetic Stickers give you bright, high-impact color that works brilliantly for holiday cards, travel photos, and product shots.
Matte sheets reduce glare and are easier to read under bright light. They work well for schedules, to-do lists, menus, or classroom charts.
Good-quality sheets are usually waterproof, easy to cut, and designed for strong, reliable grip on most metal surfaces. Many are tested for safety and environmental standards, which matters if you are using them around children, in schools, or in food areas.
Step-by-Step: Turning Photos into Custom Magnets
You do not need to be a designer to get nice results. Follow this simple process the first time you use Printable Magnetic Stickers, and you will quickly find your own style.
1. Plan Your Design
Start by choosing what you want to turn into a magnet. It could be:
• A family portrait or baby photo
• Your pet doing something funny
• A favorite travel shot
• Your brand logo or QR code
• A simple monthly calendar or meal plan
Pick images with good lighting and clear subjects. Dark or blurry photos will still look dark and blurry when printed on magnets.
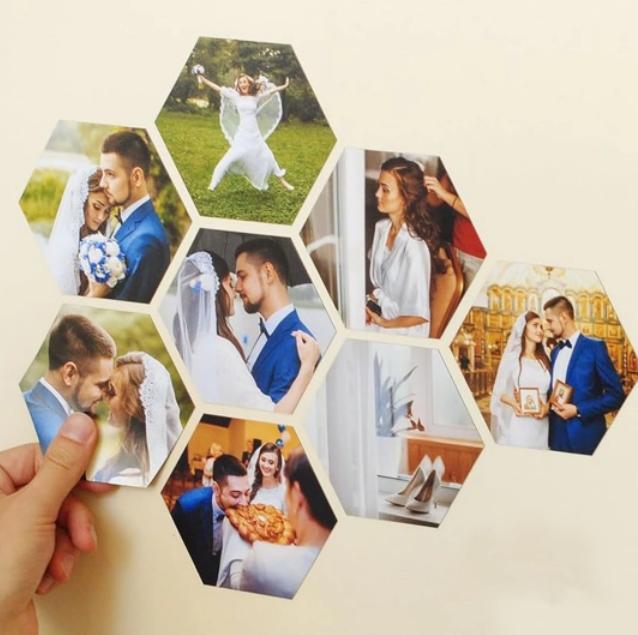
Next, decide the size. On an 8.5″ x 11″ sheet, you can make:
•One large full-page magnet for a calendar or chore chart
•Four medium magnets for photos
•Many small magnets for labels, icons, or business giveaways
Use basic software such as Word, PowerPoint, Canva, or any photo editor. Arrange your designs in a simple grid. Leave a little space between each one so cutting is easier and cleaner.
If you want, add short text: names, dates, a quote, or your website. Keep it short and readable. Simple fonts and strong contrast work best.
2. Print on Your Magnetic Sheets
When your layout looks good on screen, it is time to print.
•Place the Printable Magnetic Stickers in your inkjet printer tray. Make sure the printable side is facing the right way.
•In your printer settings, choose a higher-quality print mode such as “Photo” or “Best.”
•Select a paper type that matches your sheet: “Photo paper” for glossy, or “Matte paper” for a matte finish.
•Print one test page first. Check the colors and sharpness. If the result looks dull, increase quality or adjust brightness and contrast in your software.
After printing, let the sheet dry for a few minutes. The coated surface is made to hold the ink and show rich color, but a short drying time helps prevent smudging and improves durability.
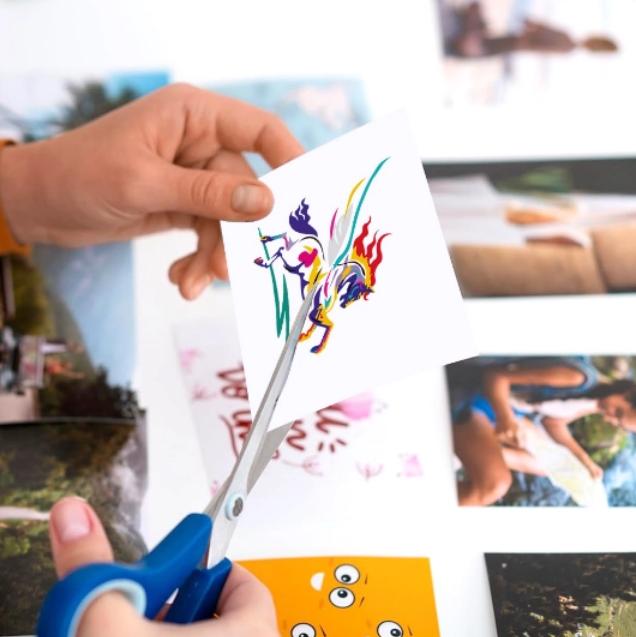
3. Cut, Apply, and Rearrange
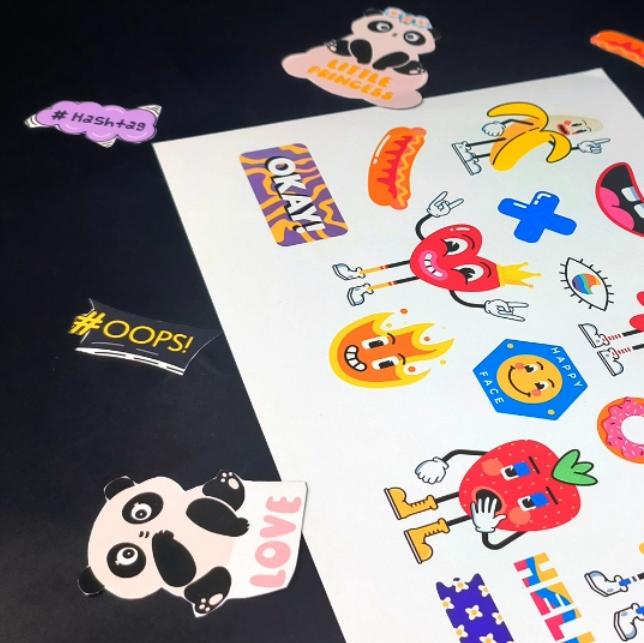
Once the ink is dry, cut your magnets:
•Use straight scissors for simple rectangles or squares.
•Use an electronic cutter if you want custom shapes, rounded corners, or detailed outlines.
The sheets are thin and flexible, so cutting does not feel like fighting with a thick board. Even kids, with supervision, can help.
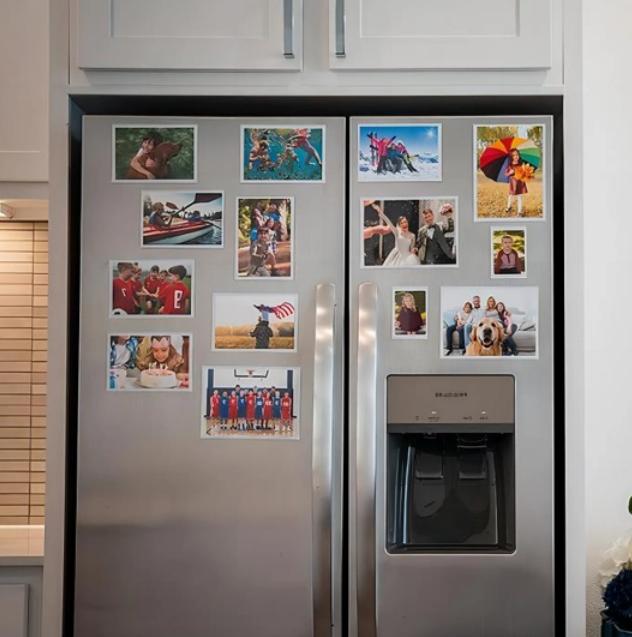
Now place your new magnets on:
•Refrigerators or freezers
•School lockers
•Office cabinets or whiteboards
•Magnetic planning boards
The magnets hold firmly but can still be moved around. You can update a weekly schedule, swap seasonal photos, or change menu plans in seconds, without leaving any residue behind.
Make Your Printable Magnetic Stickers Photo Magnets Last
When you begin creating magnets with Printable Magnetic Stickers, it becomes clear that durability depends on more than just the image. How you print, where you place them, and which sheets you use all play a role. A few simple habits will keep your magnets looking their best.
Typical Magnet Issues and How to Prevent Them
People often complain that their magnets fade, don’t stick well, or start to peel at the edges. Most of these problems can be avoided with basic care:
✅Use coated inkjet magnetic sheets. This type of coating holds the ink in place on the surface, resulting in vivid, solid colors instead of patchy prints.
✅Keep magnets away from strong heat and direct sunlight. Any printed item will fade faster under hard UV light or near a hot oven.
✅Clean the metal surface first. Dust, oil, or food splashes can reduce magnetic grip. Wipe with a dry cloth before placing your magnets.
✅Store extra sheets flat. Keep unused Printable Magnetic Stickers in their original packaging, lying flat in a dry place. This helps prevent warping and protects the print surface.
If you are making magnets for a small business or event, test one sheet first. Put a sample magnet on your fridge or office cabinet for a few days. See how it looks in normal light and how well it sticks. This small test can save you from reprinting a large batch later.
Creative Ways to Use Printable Magnetic Stickers
Once you get past the first fridge photo, the ideas multiply quickly. These magnetic sheets are useful for both personal and professional projects, such as:
•Save-the-date magnets for weddings or parties
•Sports schedules for teams and schools
•Branded fridge magnets with your logo, website, or QR code
•Classroom tools like reward charts, alphabet letters, or picture cards
•Daily planning: to-do lists, shopping lists, or emergency contacts
Because the material is waterproof, easy to cut, and environment-friendly, you can use it in kitchens, classrooms, studios, and offices without worry. And when your life changes – new baby, new brand logo, new team season – you simply design and print a fresh set.
Call to Action
If you are ready to move beyond curling paper photos and dull fridge doors, now is a good time to try Printable Magnetic Stickers for yourself. Pick a few favorite images, open your design software, and print your first test sheet. In less than an hour, you can have custom magnets that capture your memories, support your brand, and bring a bit of color to every metal surface around you.
- Agodeo inkjet vinyl sticker paper
- AIVA printable vinyl sticker paper
- best inkjet vinyl sticker paper for outdoor use
- cheap printable vinyl sticker paper for outdoor use
- cold chain temperature indicator
- color-change temperature sticker
- Cricut vinyl sticker paper inkjet
- custom vinyl sticker printing
- DIY sticker paper sheets
- durable waterproof sticker paper for inkjet printers
- electronics temperature sticker label
- glossy inkjet vinyl sticker paper
- hot equipment warning sticker
- industrial temperature indicator label
- inkjet sticker paper for Cricut
- matte inkjet sticker paper
- medical temperature indicator sticker
- multi-point irreversible temperature sticker
- Neato vinyl sticker paper
- one-time temperature indicator label
- orajat 1917 printable vinyl
- peak temperature measurement label
- printable vinyl for car decals
- printable vinyl for laptop stickers
- printable vinyl for scrapbooking
- professional quality inkjet vinyl sheets
- reversible temperature monitor label
- self-adhesive printable vinyl
- shipping temperature indicator label
- Tear-resistant sticker paper
- temperature indicator for food safety
- temperature monitoring sticker for transport
- vinyl sticker paper for labels
- waterproof printable vinyl paper
- where to buy inkjet vinyl sticker paper